|
The log house....minus it's original "green roof" of sedum and grass that a
gang of young squirrels came along and tore the crap out of for reasons that
I cannot say....It still has a wood roof and the nuthatches don't seem to mind.
|
We have several birdhouses in our backyard. Most of which I've made from old cedar fencing. Also, most of which are designed to the specifications for chickadees and wrens.
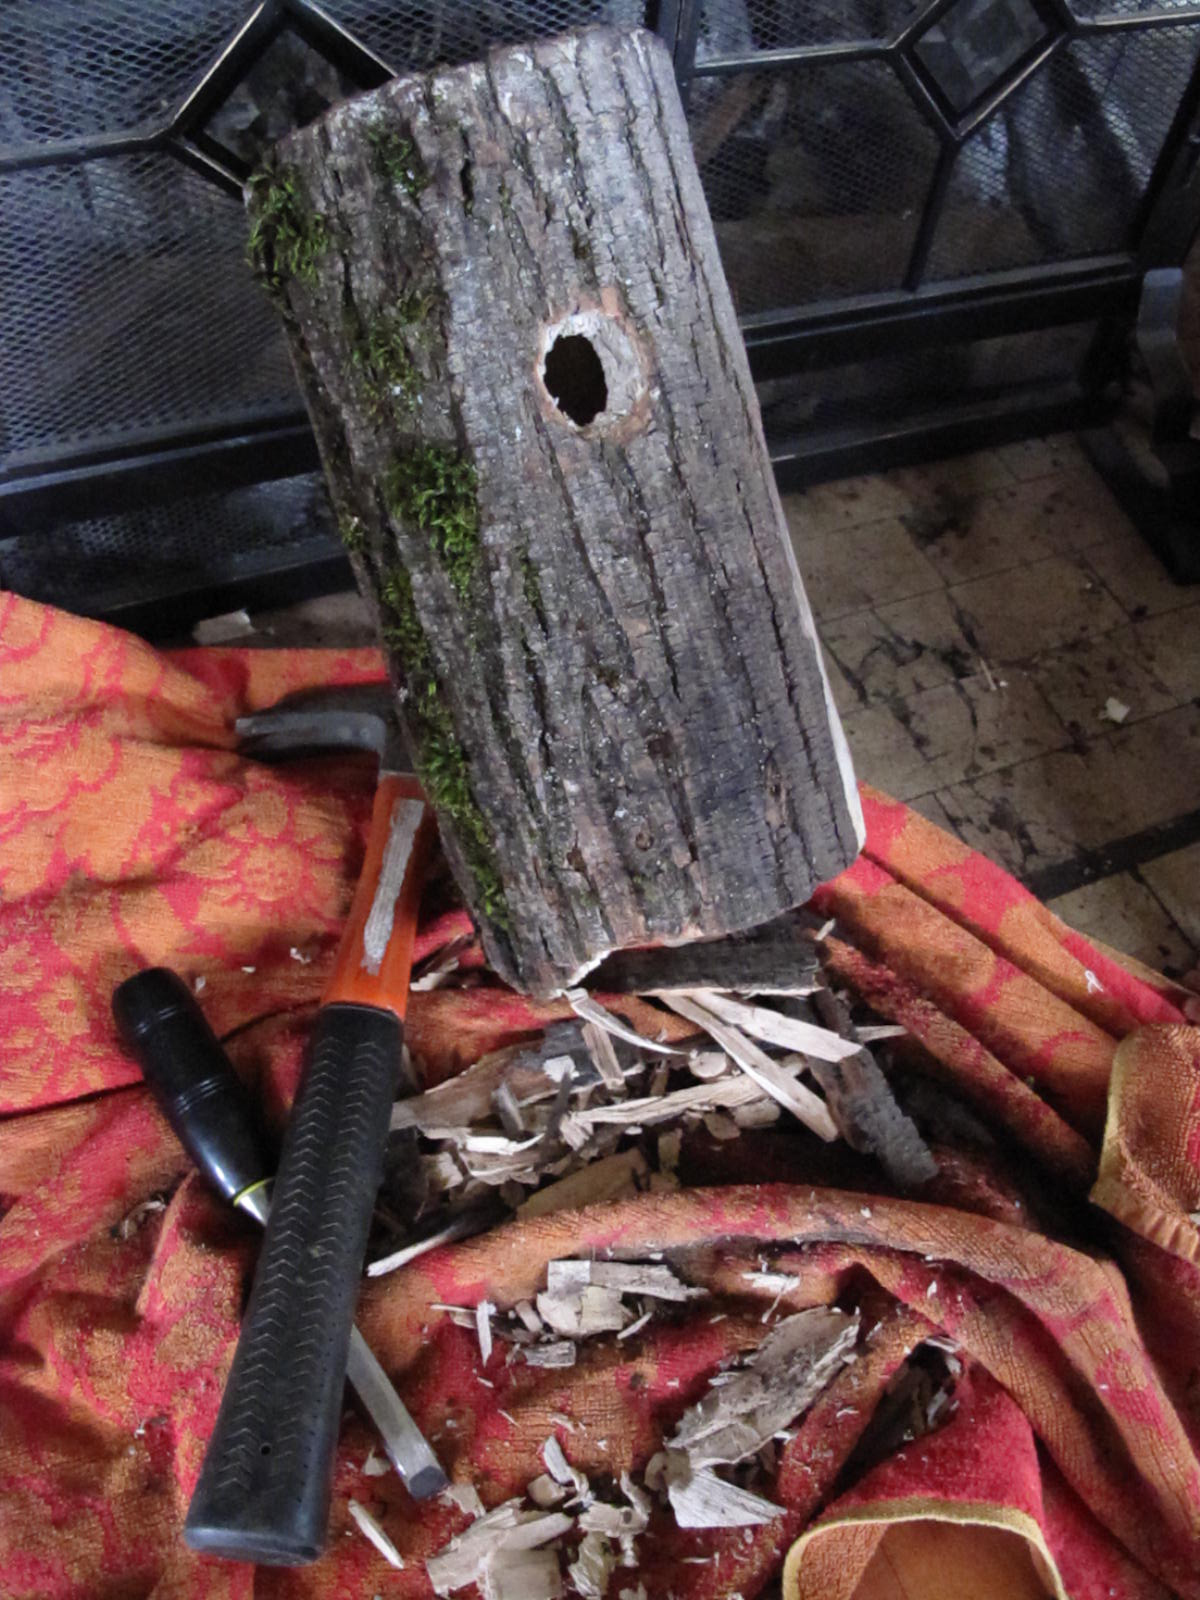
I made this log bird house about three years ago. A 6" in diameter piece of maple, originally destined to be firewood, I noticed it in the stack of wood. It's pithy, crumbling center sparked the idea of hollowing it out to make a birdhouse. So I did.
 |
| The log house sit's on top of the split cedar fence in the "native plant garden". |
Fast forward, three Springs later, the log birdhouse is now home to a pair of Red Breasted Nuthatches. These energetic little birds showed up at the feeder for the first time just this past Winter. Their soft, almost guinea pig-like twittering is a unique trait as is there low profile and hopping around, often upside down on tree branches. The nuthatches, along with a few Downy Woodpeckers and Bewick Wrens are relative newcomers to our yard. I don't know for sure why, but there has definitely been an increase in the variety of wild birds in this neighborhood since I first moved here in the mid-ninties.
Red Breasted Nuthatches are an interesting little bird. Not knowing much about them prior to looking them up on the web, I was delighted to find that it is in fact quite uncommon for them to take up nesting in a bird house. Thus, I suppose, they thought that the log house was a suitable hollow stump.
 |
| "mom" or "dad" Nuthatch (both male and female heads have same markings), peering out at me. |
Additionally, nuthatches have the unusual habit of surrounding the entrance hole with tree pitch. It is thought that this is a deterrent to predators. This habit of making a "sticky threshold" leads them to another unusual habit. Instead of landing outside the entrance hole and then going inside as is the habirt of many hole dwellers, they actually "dive bomb" into the hole from a branch a few feet away in order to avoid the sticky pitch. Below is a picture of the male making his dive entry and also a little movie clip of them in action....
 |
"Dad" (he has the namesake red breast) makes his dive bomb entry into the house.
Notice the pitch around the entry hole. |
It's been about 10 days now since I think the chicks first hatched out. I can hear their soft twittering when the parents arrive with bugs to feed them. I'm not sure when they will fledge, but I hope I get a glimpse of the babies. Perhaps also, they will come back next year?!
I just wanted to end this post with a few tips for anyone who has found themselves here looking for birdhouse specs--with the added caveat that I pretty much only make
functional bird houses that will actually attract birds and give them a safe home to raise their young. I don't, for example, make houses that look like
this. I make them without paint. No perch (offers easier access to larger predatory birds). When making the entry hole, if you use a borer then the edges should be filed down so that there aren't right angles (think of how it would look if a woodpecker made it). For Chickadees, wrens and nuthatches, the entry hole shouldn't be no more than 1 1/8" in diameter so that it well keep out slightly larger and very pervasive English Sparrows. The floor space is usually about 5"x 5" and should sit about 8"-10" below the entry hole (again, this is another measure to take to reduce the risk of predators getting at the eggs or young). Don't use metal on the roof (too hot) or place in direct, full sun, or hang it with the entry facing the direction that gets the most rain and wind. Hang the house 7'-10' up in a tree in such a way that there's no easy access (rooflines, large parallel branches, etc.) to climbing predators such as cats or raccoons......BTW, I want to give credit to the "bird house man" I met several years ago on Sauvie Island. He taught me most all of the above and I sadly do not know his name.
Here are a few final pics of the actual construction of the log house. Note my ever-present "helper" who nearly always shows up when I pull out tools.
 |
| Hammer. Chisel. I also burnt out some of the core with coals from the fireplace. |
 |
| Going for the hammer...... |
 |
"peekaboo"
Finished hollowed out log. |